There are six crucial steps in the journey on how to get longer lashes. See below for a the breakdown.
When you have short, pin-straight lashes, a lash curler and a good mascara are simply not enough. If your eyes are hooded, you probably find it extra difficult to make your lashes even visible. Here are a few tools and tricks I picked up over the years to turn my straight, Asian lashes into lengthy curls that stay put all day.
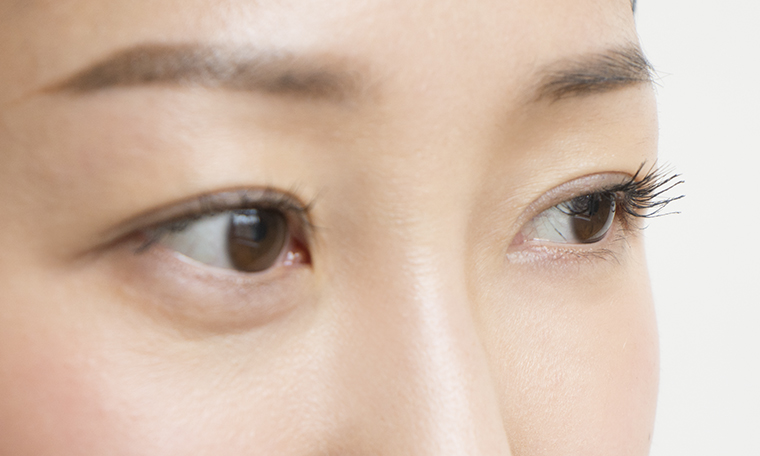
First, here are my bare lashes:
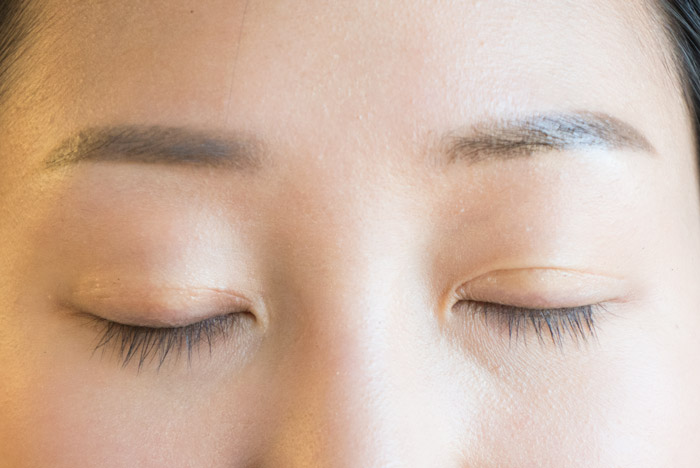
With the steps I’m about to show you, I can make them look like this:
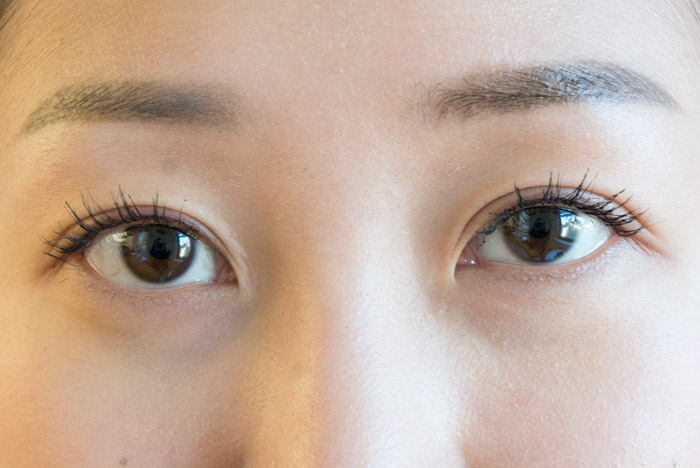
Granted, they’re no Ardell Wispies, but if you have extremely short, limp lashes, you know that this is a huge feat. Let me walk you through the entire process, from prep, mascara, to treatment.
Eyelash curler
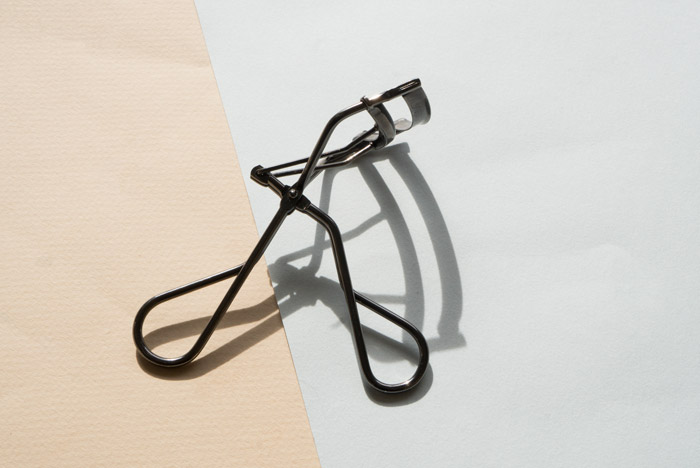
The perfect curler for you will depend on your eye shape, and once you find the perfect one, it’s hard to switch. For me, I’ve been a diehard fan of the Shiseido lash curler—I’ve had the same one for about three years. Just make sure to replace the rubber pad at the slightest sign of wear or tear. Otherwise, your lashes will get caught in the cracks and fall out in bunches, which has happened to me several times.
Once in a while, I get my refill at Macy’s for $6. Sephora has it online too, but I sometimes have trouble finding it in-store in New York. Getting a replacement pad is way cheaper than buying a brand new curler.
When it comes to how you should curl your lashes, this video by Hello Pretty changed my life, and I strongly recommend that you watch it.
Mascara layering
I’ve yet to find a lash primer I love—the Lancôme Cils Booster weighed down my lashes and made them look clumpy in weird places. So personally, I skip lash primers, but if your lashes are naturally thick, curled, and able to handle the weight, it would be a good step to add before you apply mascara.
When it comes to mascaras, if your lashes are short and thin, start off with a lengthening mascara with a formula that isn’t too heavy. A thin, curved brush also makes it way easier to coat every lash without getting mascara everywhere on your eyelids. A good Western option that I’ve been obsessed with since college is the Maybelline Volum’ Express Cat Eyes Waterproof Mascara. The brush is thin, long, and curved, and the formula is waterproof, which helps hold the curl better. If you love Asian mascaras, make sure to check out this roundup.
Depending on what your lashes can handle, you can apply a volumizing mascara on top. These mascaras tend to have fatter wands and make your lashes look thicker. But if your lashes droop down easily, you can skip this step.
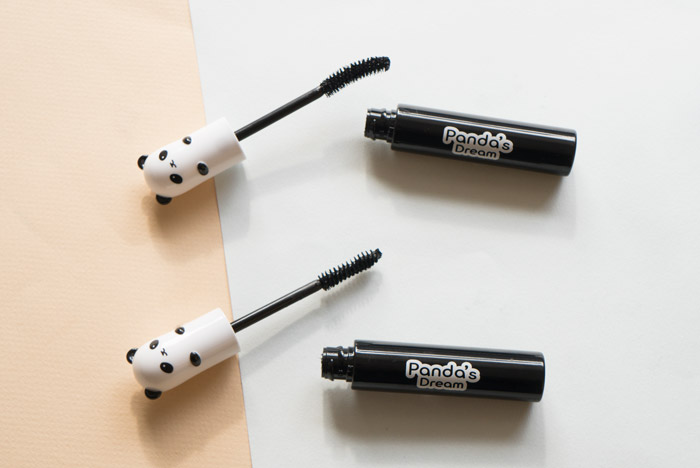
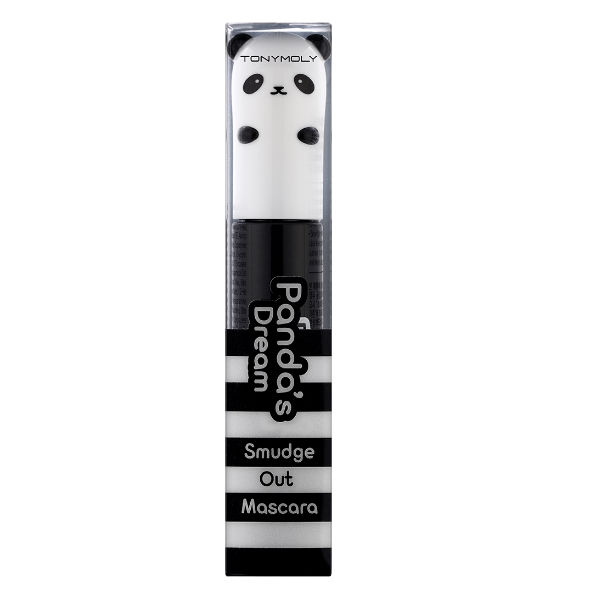
If you love washable mascaras, try the Tony Moly Panda’s Dream Smudge Out Mascara, which comes in two different versions: lengthening and volumizing. These mascaras are well-known in Korea for their ability to lengthen and volumize lashes without weighing them down.
Mascara fixer
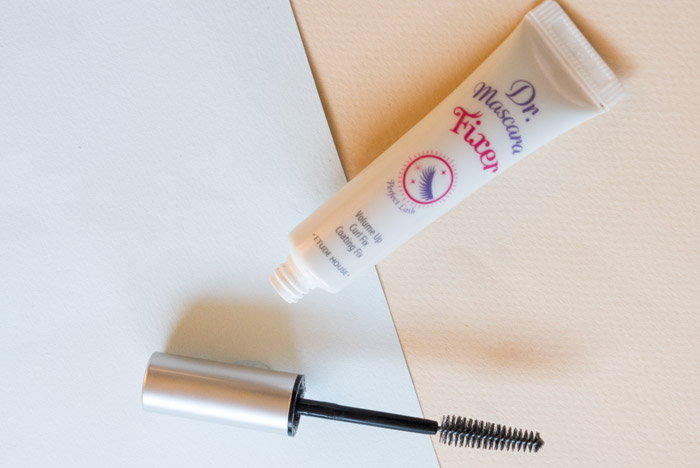
If you’ve tried every single mascara under the sun and found that they all smudge, what you have been missing is the Dr. Mascara Fixer from Etude House. Technically, it’s a clear mascara, but not like any other you can find at drugstores. This is meant for your lashes, and it not only helps your lashes hold onto the curl all day, but it also helps prevent smudging. It comes in two versions, the regular one above and the curved version with fiber, and while the fiber one does make your lashes noticeably longer, the fibers can fall off and move around on your face. So I would stick to the regular version.
This fixer is versatile, so on days you want to skip mascara but still make your lashes look long and curled, you can wear this fixer alone as a clear mascara. Just make sure not to over-apply, or it’ll dry white and become noticeable. Or you can apply the fixer before you apply mascara to help hold the curl. For me, I just apply it after my mascaras to prevent smudging.
Mascara cleaner
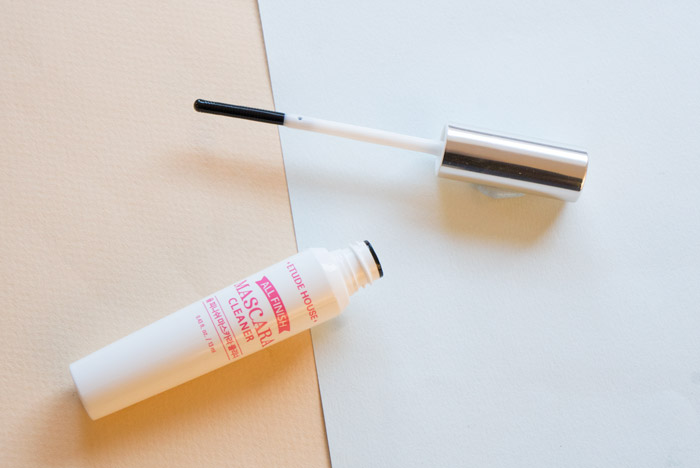
If you like waterproof mascaras, it’s sometimes tough to remove mascara efficiently without tugging at your eye area. The Etude House All Finish Mascara Cleaner is a time-saver that helps you remove mascara faster and conditions your lashes with natural oils. If you find that you have to aggressively rub your lashes trying to remove makeup, giving yourself more wrinkles, then read here why you might need this to keep your lashes and the skin around your eyes healthy.
Makeup remover
While the oil cleanser does a great job removing face makeup, for more delicate areas like your eye area, the less tugging you need to do to get all the makeup off, the better. Even if you only wear mascara, you might have makeup left on your lashline, which may lead to an infection.
After using the mascara cleaner, soak a cotton pad with makeup remover and lay it on your eyes for 1-2 minutes. Gently wipe away. Then soak a Q-tip in makeup remover and gently run it along the lashline. Make sure to be generous with the makeup remover to help the cotton pad and Q-tip feel less abrasive on the skin.
Once that’s done, double cleanse, do your routine, and don’t forget to show your lashes some love by conditioning them with one of the following:
Revitalash: the lash enhancing serum
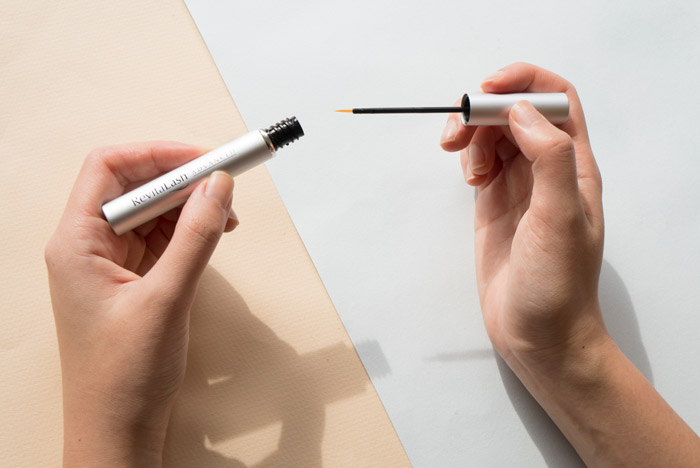
This lash serum is expensive, no doubt, but it’s completely worth it. It not only conditions your lashes but makes them appear visibly longer—I saw results after two weeks. The small tube costs around $100 and lasts two months or longer, depending on how diligent you are with application. This breaks down to $30-50 months per month, if lashes are something you’re willing to invest in. Technically, that’s cheaper than getting lash extensions, and you get to keep your natural lashes!
I run this over my lashline right before bed, making sure not to get it in my eye. If I do get it in my eye by accident, it doesn’t sting that much, and you won’t be screaming in pain. The one thing I would note is that it did stain my lower eyelid just a little bit brown, but this went away when I forgot to apply it for a couple days. Of course, as you could’ve guessed, you want to use this every night for best results.
Alternative: Castor oil
Castor oil is well-known in the natural beauty world for its ability to promote hair growth. You can find a small bottle of high quality, cold-pressed castor oil at any health food store at an affordable price—the one I’ve previously bought was around $6. Since it’s such a thick oil, you just need half a drop to apply to both lashes.
Before using Revitalash, I used castor oil to condition and thicken my lashes. After about two weeks of using it every night, I noticed that my lashes were thicker and less prone to falling out. I didn’t see as dramatic results as I did with Revitalash when it comes to length, but if you’re on a budget, using castor oil is a great way to start taking care of your lashes. If you want a lighter oil, argan oil is a good option to start out with as well.