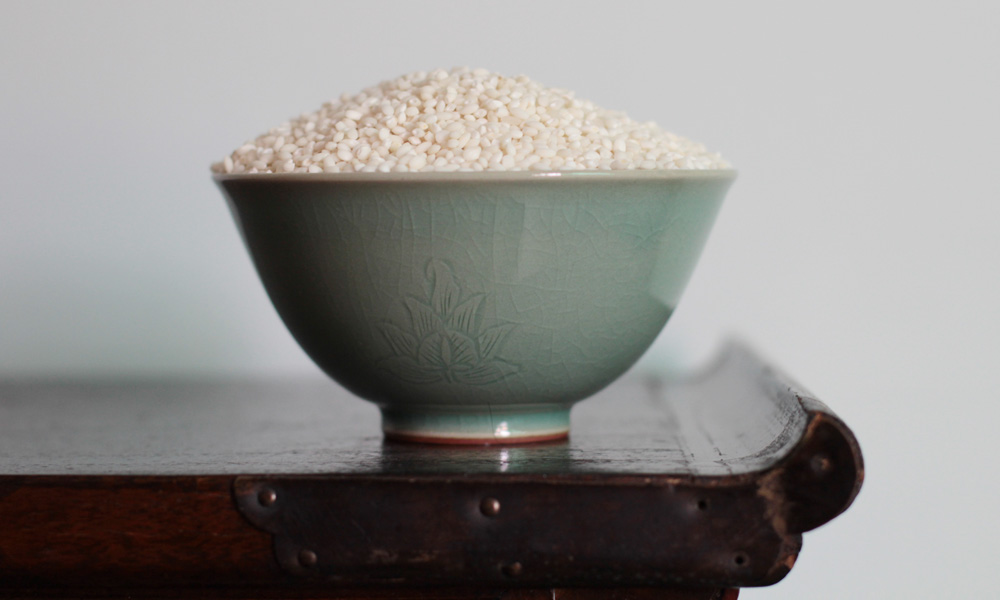
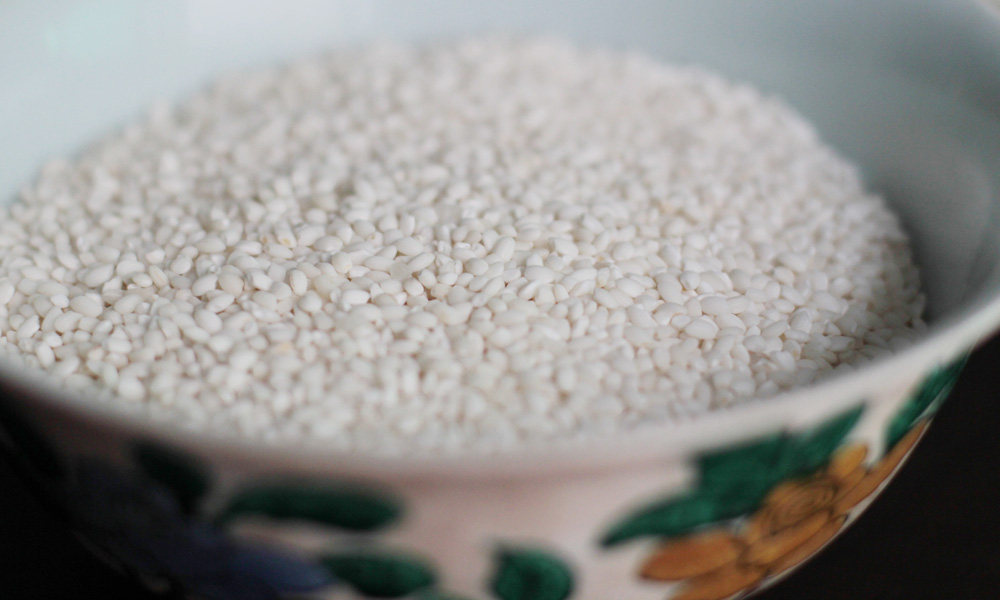
Rice is the great equalizer. In Korea, it’s on every table for every meal, no matter who you are or what you do. It’s the ultimate sustenance, and the best part is, anyone can make it. If you can boil water or push a button, you can cook rice. And with a little attention to detail, you can even master it.
After toiling in the kitchen to orchestrate a meal, there is nothing more rewarding than lifting the lid to see perfectly cooked rice. Steaming. Glistening. Waiting to be fluffed, scooped and patted into a mound. If you have yet to have spiritual experience with the plain white rice, then read on and be transformed.
Note: The rice referenced in this article is the rice that 99% of Koreans eat—short-grain white rice.
The Tools
A rice cooker is your best friend, and I cannot emphasize that enough. Pressurized cookers have the utility of a slow cooker but the speed of a microwave. Aside from crafting the perfect bowl of rice, it can make rice cakes, steam corn on the cob or even bake cakes (Lifehacker has a whole slew of other suggestions here). Of course you can cook beautiful rice without it, but if you consume rice on a regular basis, it’s worth the investment. Washing the rice is made easier with tools like ribbed bowls specifically made for rinsing rice, but it’s nothing a rolled up sleeve and any big bowl can’t handle. Special rice rinsing bowls with built-in strainers are useful for people like me who always end up losing a good pinch of rice down the drain.
The Rinse
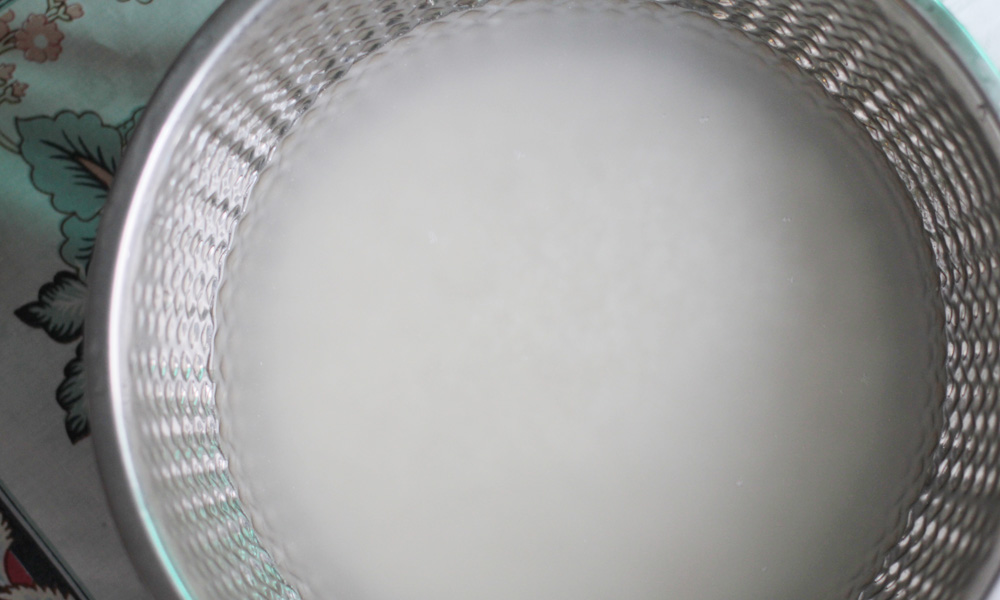
It’s imperative that you rinse the rice, and that you use cold water to do so. But the question is, how many times? In Korea, the magic number is three. The secret is to rinse softly, grain against grain, drawing a circle around the washing bowl with your hands. The first rinse should be quick and dirty; just barely wet and submerge the grain before throwing away the water. Getting rid of the bran and not letting the starchy water linger is key. Some people even use filtered water for this. The second rinse is a little more thorough, but not hard enough to crush the grains. Swirl the rice around until the water is white and murky. The third rinse is optional—some people rinse a third time, carefully monitoring the water to make sure it’s not too clear. Others start the soak at this stage.
The Soak
We’re going to start the soaking conversation with the rice to water ratio, because experts recommend using the soaking water directly for cooking the rice. If you grew up in a Korean or Asian household, you’re probably familiar with the hand, palm or finger trick for measuring the rice to water ratio. It’s an easy solution, but not always reliable. You may have also read somewhere that for most rice you can measure 1:2 parts rice to water. For accuracy and for Korean style rice, however, you should always measure by weight, not volume (a kitchen scale comes in handy for this). The recommended rice to water ratio in weight is around 1:1.5.
Always soak your rice for at least thirty minutes before cooking for the optimal fluffy, slightly chewy texture that characterises Korean rice. After 30 minutes, stick the rice and the water into the pot and start cooking.
Something Extra
Dashima (다시마), or kelp, is the base of many Korean broths. I love that you can use a few anchovies and a piece of kelp to add depth to Korean soups—no chicken halving required. Kelp adds umami factor in a simple bowl of rice, while also lending itself to a luster that everybody wants in a freshly steamed bowl of Korean rice. An added bonus: as an alkaline food, they say kelp has an added benefit of balancing your body’s pH levels. Just add a small piece of kelp (about the size of a business card) on top of the rice before you cook it and see the results for yourself. Remove kelp before fluffing the rice. You can eat or discard it to your liking.
Instant Rice
Instant rice is Korea’s answer to sliced bread. These microwaveable single servings of rice are hailed and inhaled by busy people everywhere. But instead of buying pricey prepackaged and pre-cooked rice packed with preservatives, I discovered that you can DIY with the right container. If you can’t find special plastic ware made specifically for storing and heating instant rice, try improvising. Next time you make rice, make a little extra and pack the fresh rice in a flat, heavy duty plastic with a lid that’s not air-tight (if it has an air-tight lid, unfasten—but don’t remove—before reheating). Stick in the freezer for when you find yourself without time or a fresh pot of rice, and microwave at around 2.5 minutes (keep the lid on loosely or the rice can dry out). You can keep frozen rice up to six months in the freezer.
Storing Rice
Rice is best stored in a dark, cool place to avoid infestation. I buy rice in bulk, and take out what I need for a few weeks at a time and store the immediate stash in a large mason jar for easy access. Storing rice in 2-liter water bottles is also a popular way in Korea to guarantee fresh and pest-free grains for months to come.


