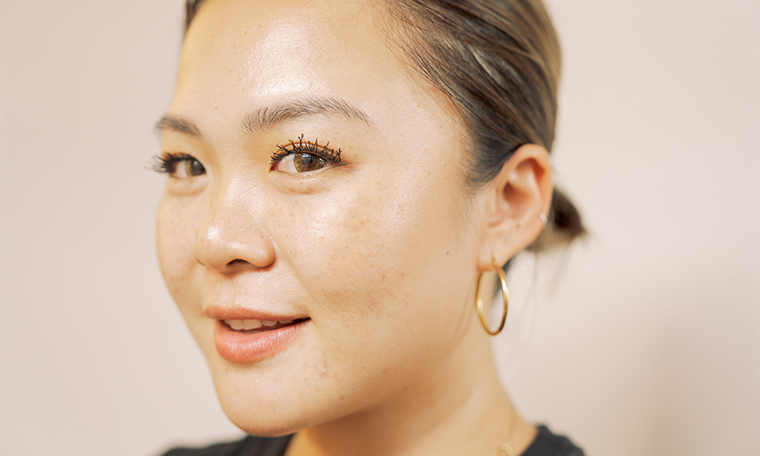
When it comes to achieving a flawless, long-lasting look, a solid skin care routine is your secret weapon. Read on for skin prep tips from celebrity makeup artists.
If you were to ask any seasoned makeup artist about their best piece of advice when it comes to applying makeup, they’d pretty much all agree on the same thing: prep your skin. What we do to our faces before applying an ounce of concealer, BB cream, or blush will ultimately affect the finished look. This is true whether you’re a model gearing up for the runway, a celebrity about to walk the red carpet, or an everyday man or woman sitting at your humble vanity.
“Prepping your skin before applying cosmetics is super important,” stresses Maddie North, a celebrity and editorial makeup artist whose client roster includes Lorde, Olivia Culpo, and Nick Jonas. “You want to make sure the skin is in optimal condition, which will actually improve the performance and appearance of your cosmetics.”
For the scoop on how to do just that, follow these four steps.
Step One: Assess Your Skin
The process of preparing your skin before applying makeup is relatively straightforward. Ultimately, it boils down to figuring out what your skin needs and what your specific makeup goals are.
“I always make sure to really inspect the skin before starting makeup and look at the condition of it. Is there dryness? Flaking skin? Dehydration? Is someone oily, or are their lips chapped? What is their pore size, and will they need a pore filler in spots?” says Mary Irwin, an editorial and celebrity makeup artist to stars like Sasheer Zamata and Nicole Scherzinger.
By being fully aware of your skin type and any specific issues you’re dealing with at the moment, you’ll have a better idea of what products will serve you best as you prepare your face for cosmetics. (Psst! Unsure about what type of skin you have? Take our helpful skin quiz.)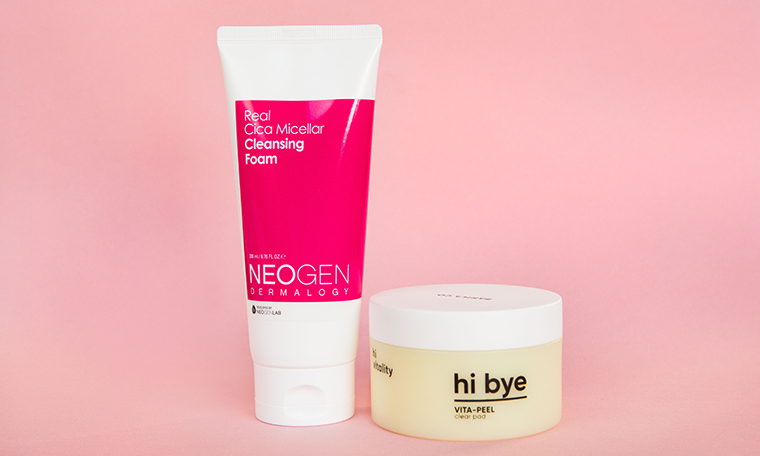
Step Two: Cleanse and Exfoliate
“I always start with removing anything that might be on the skin, usually with a micellar water,” says Irwin. (If you feel like your skin really needs a good wipe down, you could start with your favorite oil-based cleanser, then follow up with micellar water.) “Next, I look for any dry or flaky spots, and if needed, exfoliate to remove dead skin. I love an exfoliating pad for this – it allows me to be very targeted with the treatment.”
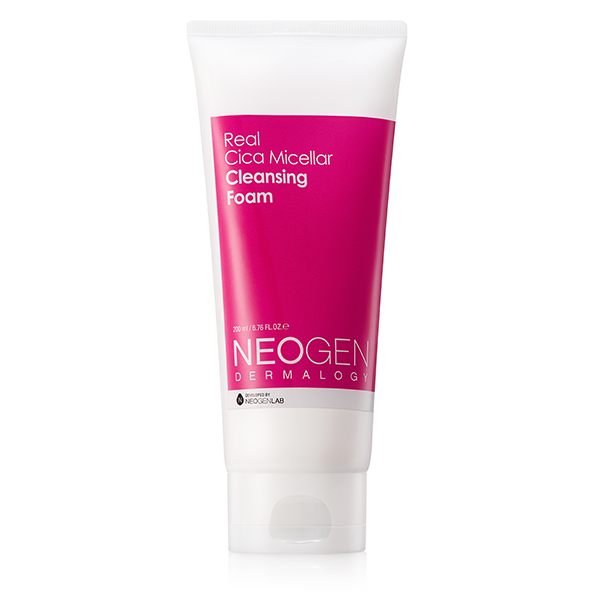
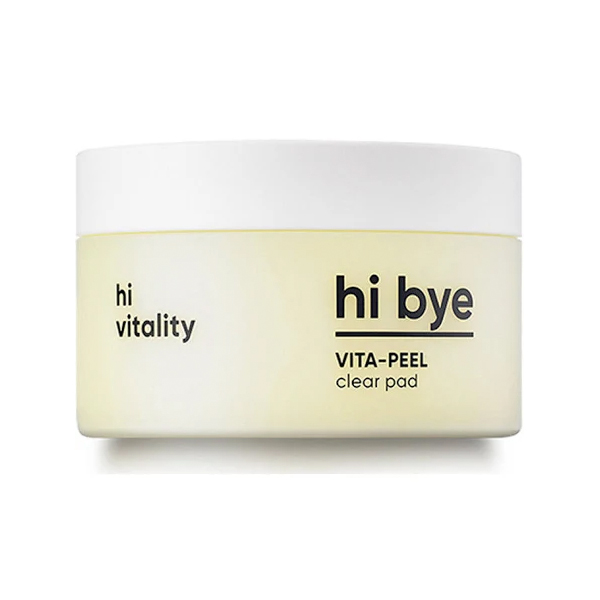
For cleansers, try Neogen’s Real Cica Micellar Cleansing Foam ($15) or the brand’s Real Flower Cleansing Water in Rose ($22), which is a gentle, effective micellar water that soothes while it cleans. For days when your skin may require a bit of exfoliation, swipe on Banila Co.’s Hi Bye Vita Peel Clear Pad ($21).
Step Three: Rebalance with a Toner
After cleansing and exfoliating, pat in a toner to help rebalance your skin’s pH level, advises North. If you have dry skin, a hydrating option such as Botanic Farm Avocado Honey Rich Toner ($24) is ideal. Alternatively, if oily skin or large pores are a concern, apply a toner that combats the issue, such as Missha Super Aqua Mini Pore Tightening Toner ($18).
Step Four: Hydrate with Patience
Once your skin is adequately cleansed, exfoliated, and toned, it’s important to apply a moisturizer that sits well underneath your makeup. For this, you’ll want to choose a moisturizer based on your particular skin type, says North.
“Someone with dryer skin might get a heavier cream to help add as much moisture as possible,” she notes. “For someone with oily skin, I wouldn’t necessarily choose an oil-based moisturizer as to not overwhelm the cosmetics and cause any pilling.”
You’ll also want to choose a moisturizer that sinks in quickly, whether it’s a dry oil, a water gel, or a thick cream.
Whatever moisturizer you ultimately reach for, Irwin says that it’s important to really massage it into your skin and to let it sit for at least a few minutes, but ideally around five to 10. While you’re waiting, work on your hair, drink your coffee, or try a self-administered lymphatic drainage massage. You can also apply an under-eye mask, such as the Missha Speedy Solution Brightening Eye Patch ($2), for an extra boost of moisture.
“By letting your moisturizer absorb before you put makeup on over it, the makeup doesn’t break the moisturizer down and vice versa,” adds Irwin.
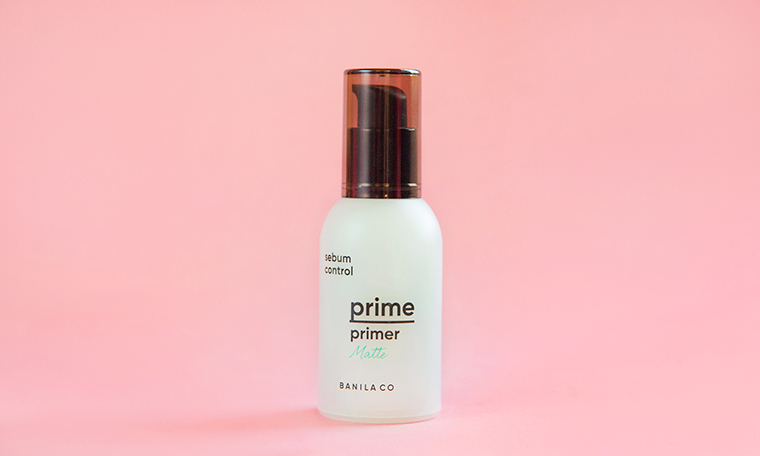 Step Four: Primer, if You Desire
Both North and Irwin agree that a primer isn’t always necessary, especially if you’ve completed the above skin care steps. In fact, some primers can even complicate your makeup application and cause slipping if it doesn’t melt into your skin or work very well with your cosmetics.
RELATED: The Top-Selling Korean Primer That Will Give You “Glass Skin”
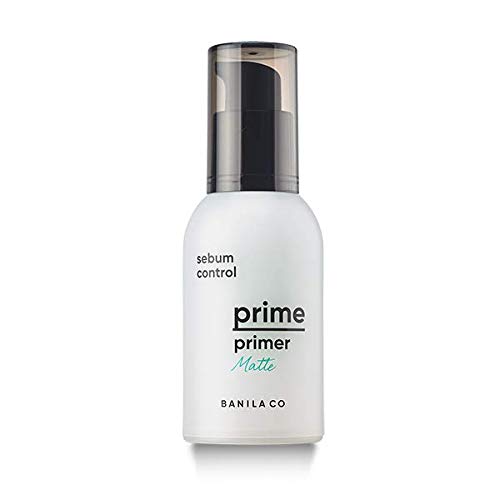
That said, sometimes primers can help to fill in large pores, nix excessive shine, or smooth out problem areas. Irwin suggests applying only where necessary, such as the t-zone or cheeks. Try the Banila Co Prime Primer Matte, a best-seller known for controlling sebum.
Also, if you’re going to wear eyeshadow, an eyeshadow primer will help keep everything in place, especially if you have oily lids or plan to wear a heavy eye look.
Bottom Line
“As a makeup artist, I find that so many problems people have with makeup are actually skin care issues,” says Irwin. “I always recommend that you invest in your skin care first, before makeup. Sometimes a simple skin care addition can be the secret weapon to taking makeup from good to great.”